

Introduction
Your car’s engine is like its heart — and engine oil is the lifeblood that keeps it running smoothly. Oil lubricates moving parts, reduces heat, and helps remove dirt and debris. But over time, oil breaks down and becomes less effective. That’s why regular oil changes are crucial to keeping your vehicle in top shape.In this guide, we’ll walk you through when to change your engine oil and how to do it properly.
When to Change Your Engine Oil
Follow the Manufacturer’s Recommendation
Most cars today can go 5,000 to 10,000 miles (8,000 to 16,000 km) between oil changes, depending on:The type of oil used (conventional vs. synthetic)
Your driving conditions
The engine design
Check your owner’s manual for the exact interval. It’s your most reliable source.
Look for Warning Signs
Even if you’re following the schedule, watch for these signs that your oil may need changing:
The oil change light or check engine light comes on
The oil looks dirty or gritty
The engine is noisier than usual
You notice poor fuel economy
You detect a burning oil smell
Consider Your Driving Habits
If you:
Drive in extreme heat or cold
Frequently drive short distances
Sit in stop-and-go traffic often
Tow heavy loads
you might need to change your oil more often than the manual recommends.
How to Change Your Engine Oil (Step-by-Step)
Changing your own oil can save money and give you control over your car’s health. Here’s how to do it:
What You’ll Need
New engine oil (type and amount per your owner’s manual)
New oil filter,Wrench to remove drain plug,Oil filter wrench
Funnel,Drain pan,Gloves & rags,Jack and jack stands (or ramps)
Oil filter gasket (optional)
Step 1: Warm Up the Engine
Run your engine for 2–3 minutes. Warm oil drains faster and more completely.
Step 2: Park and Secure the Car
Park on a level surface
Apply the parking brake
Use a jack and jack stands or drive up on ramps
Step 3: Drain the Old Oil
Place the drain pan under the oil pan
Remove the drain plug with a wrench
Let the oil drain completely (wait 5–10 minutes)
Clean and reinsert the drain plug, tightening it securely (but not overly tight)
Step 4: Replace the Oil Filter
Use the filter wrench to unscrew the old filter
Make sure the old gasket comes off with it
Rub a little new oil on the new filter’s gasket
Screw on the new filter by hand (firm, but not over-tightened)
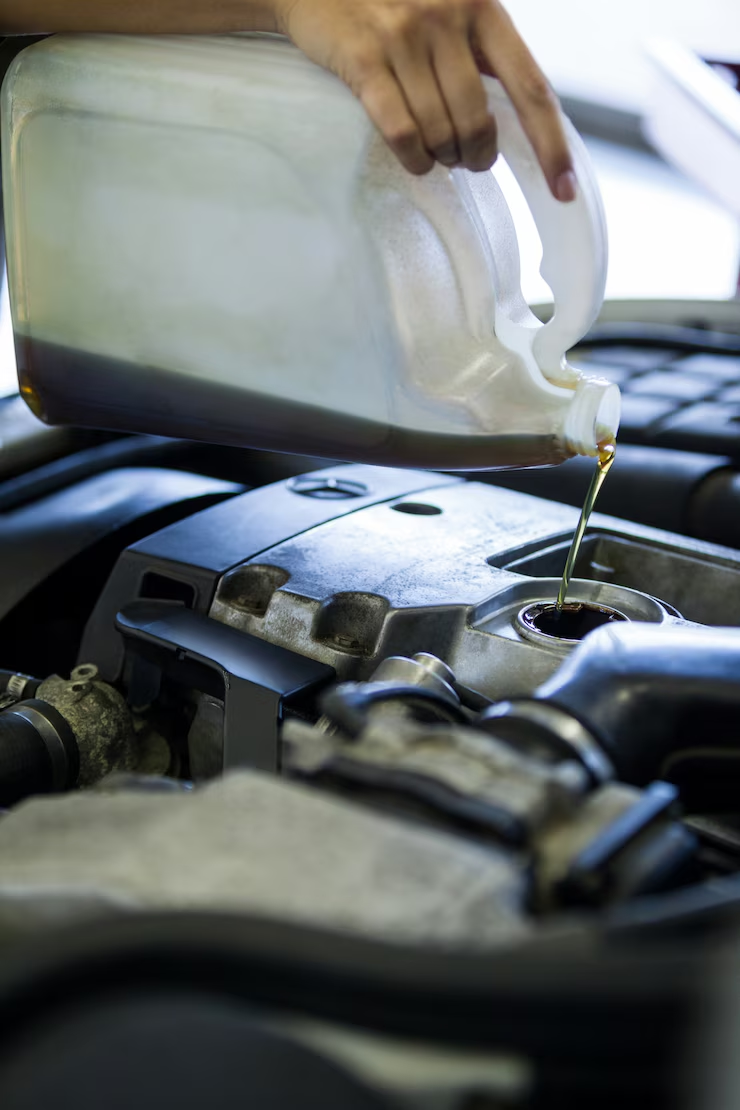
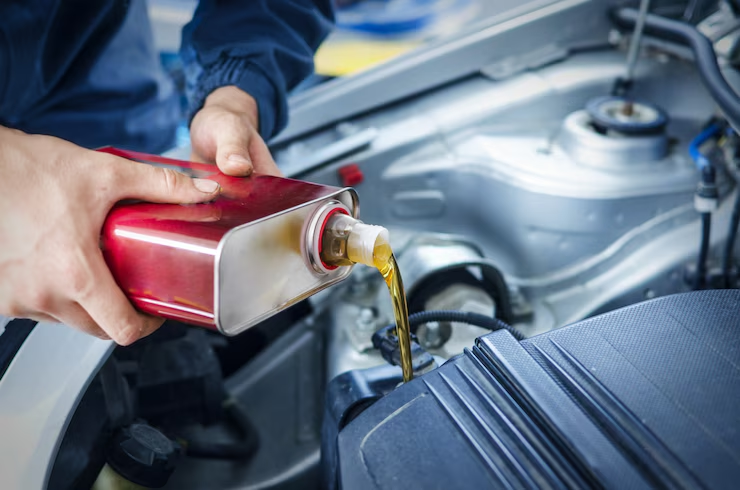
Step 5: Add New Oil
Remove the oil filler cap
Use a funnel to pour in the correct type and amount of oil
Replace the cap
Step 6: Check Oil Level
Start the engine and let it run for 30 seconds
Turn it off and wait 2 minutes
Pull out the dipstick, wipe it clean, reinsert, and check the level
Add more oil if needed
Step 7: Dispose of Old Oil Properly
Never pour used oil down a drain or throw it in the trash. Most auto parts stores accept used oil for recycling.
Quick Tips and Common Mistakes
Always use the right oil grade (check the owner’s manual).
Never overtighten the oil filter or drain plug — it can strip threads.
Check for leaks after changing the oil.
Record your oil change date/mileage to stay on schedule.
Synthetic vs. Conventional Oil
| Feature | Conventional Oil | Synthetic Oil |
| Cost | Cheaper | More expensive |
| Lifespan | 3,000–5,000 miles | 7,500–10,000+ miles |
| Performance | Basic protection | Better in extreme conditions |
| Engine Cleanliness | Leaves deposits | Cleaner operation |
Synthetic oil is usually better for modern engines, but conventional oil is still perfectly fine for older or less-driven vehicles.
Conclusion
Changing your engine oil on time is one of the simplest and most important things you can do to keep your car running smoothly. Whether you take it to a professional or do it yourself, stay consistent, use the right oil, and follow proper steps. Your engine will reward you with longer life, better performance, and fewer breakdowns.